If your iPad shows the "iPad Unavailable" message but does not display an Erase option, it can be confusing and frustrating, especially when you need quick access to your device. This issue usually happens after too many incorrect passcode attempts and may depend on factors such as your iPad model, iPadOS version, or whether certain Apple features are enabled. In this guide, we'll explain why the Erase option may be missing and walk you through several practical ways to fix the problem. We'll also include a helpful video tutorial so you can follow the steps more easily.
- Part 1. Why Is iPad Unavailable But No Erase Option?
- Part 2. How to Fix iPad Unavailable No Erase Option
- Part 3. Video Tutorial to Fix iPad Unavailable No Erase Option
- Part 4. Conclusion
Part 1. Why Is iPad Unavailable But No Erase Option?
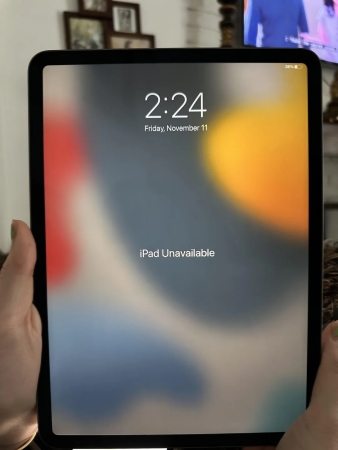
The message shown on your iPad screen can vary depending on several factors, including the iPadOS version, network connectivity, and whether Find My iPad is enabled. Because of these differences, some users may see an Erase iPad option on the unavailable screen, while others may not.
Below are the key conditions required for the Erase iPad option to appear on the iPad Unavailable screen:
- There is a network on the iPad.
- Find My is enabled on the iPad.
- The iPad is running iPadOS 15.2 through iPadOS 16.
If any of these conditions are not met, the Erase iPad option may not appear on the screen.
Part 2. How to Fix iPad Unavailable No Erase Option
When your iPad says iPad Unavailable but there is no Erase iPad option, what you can do first is to wait for the unavailable timer and then enter the correct passcode to unlock it. If you can't remember the passcode, below are five practical methods to help you bypass the iPad Unavailable screen and regain access. If you prefer a video tutorial, you can switch to part 3 to watch the video tutorial.
Method 1. Bypass iPad Unavailable Using MagFone
Using MagFone iPad Unlocker is one of the most effective methods to fix the iPad Unavailable no erase option issue. MagFone is a professional iOS unlocking tool designed to help users remove screen locks from iPhones, iPads, and iPods. Compared with other methods, MagFone offers a clear advantage because it does not rely as heavily on conditions such as Find My iPad being enabled, access to Apple ID credentials, or the availability of another Apple device. If you are looking for a relatively quick, comprehensive, and easy-to-follow solution to iPad Unavailable no erase option screen, follow the steps below:
MagFone iPhone Unlocker
Bypass iPad Unavailable no erase option screen, without Apple ID, network, or password.
Step 1 Launch MagFone iPhone Unlocker
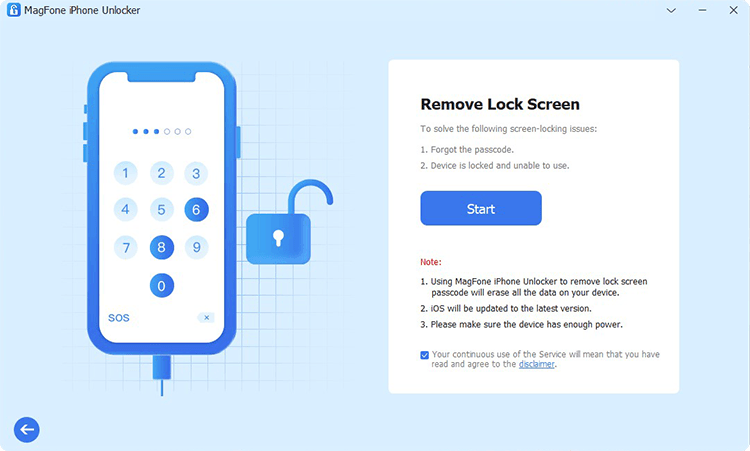
Get the download and install MagFone iPhone Unlocker on your computer. And use a data cable to connect the unavailable iPad to the computer. Then launch the tool when all is done.
Step 2 Get iPad into Recovery Mode
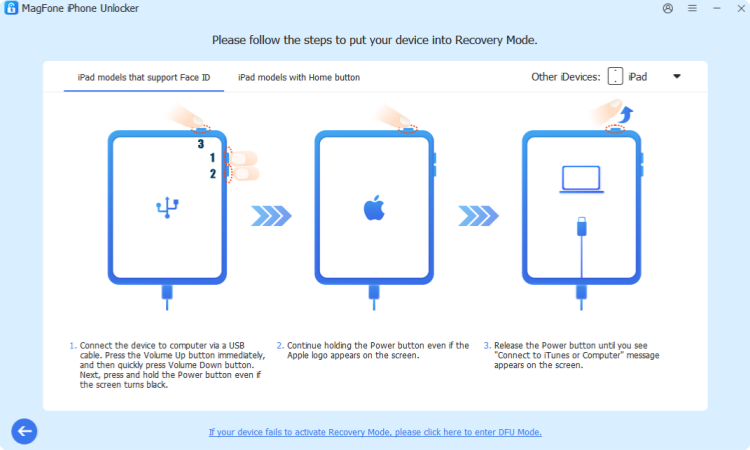
Click Unlock iOS Screen from the main interface, and click Start. Follow the on-screen instructions to get the unavailable iPad into recovery mode or DFU mode. When the iPad enters recovery mode, click the Next icon to go to the next page.
Step 3 Download Firmware Package
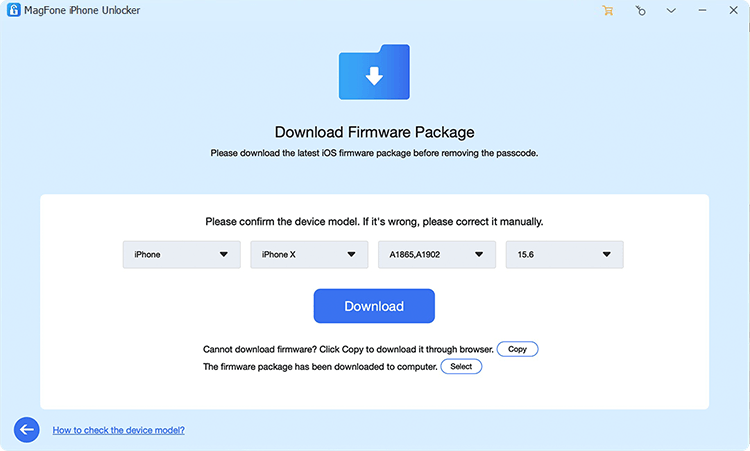
Check the details of the unavailable iPad, choose a compatible firmware package, and click Download to download the firmware package.
Step 4 Fix iPad Unavailable No Erase Option
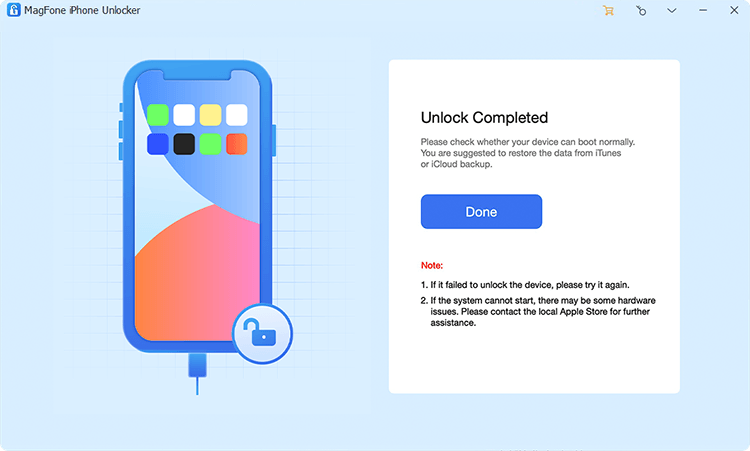
After downloading and verifying the firmware package, click Unlock to bypass the iPad unavailable screen without a passcode.
Method 2. Unlock iPad Unavailable Using iCloud
If Find My iPad is enabled on your device, iCloud offers a convenient way to erase your unavailable iPad remotely. By signing in to your Apple ID on the iCloud website, you can locate the device and remove all its data, including the screen passcode.
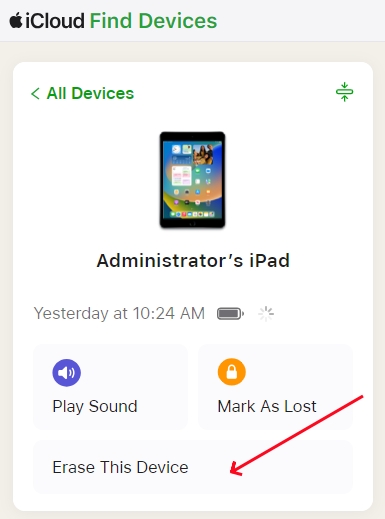
Step 1. Navigate to the iCloud website and log in to your Apple Account.
Step 2. Click the unavailable iPad from the device list, then click Erase.
Step 3. Click Next and enter the optional phone number and Apple ID password to confirm the operation.
Method 3. Unlock iPad Unavailable Using Find My App
The Find My app on another Apple device can also help you erase an unavailable iPad. If your iPad is linked to your Apple ID and Find My is turned on, you can use an iPhone, iPad, or Mac to locate and erase it remotely.
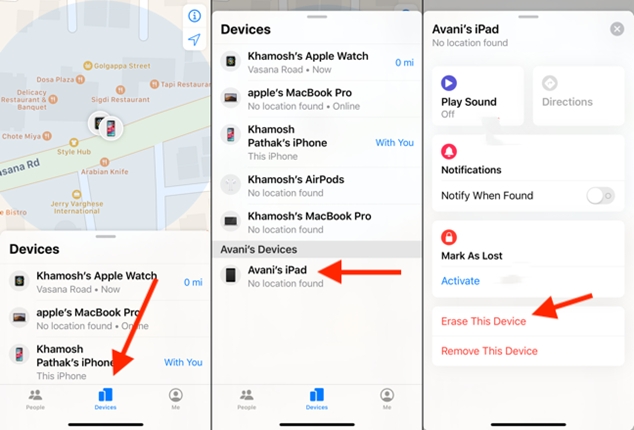
Step 1. Open the Find My app on another linked Apple device.
Step 2. Tap Devices at the bottom and tap the unavailable iPad in the list.
Step 3. Tap Erase > Continue, then enter a phone number and the Apple ID password to proceed.
Method 4. Unlock iPad Unavailable Using iTunes/Finder
iTunes or Finder is one of the official ways to restore an unavailable iPad through a computer. By putting the iPad into recovery mode and connecting it to iTunes, you can reinstall the system and remove the passcode lock. This method is reliable when your device is not connected to the internet.
Step 1. Get the unavailable iPad into recovery mode.
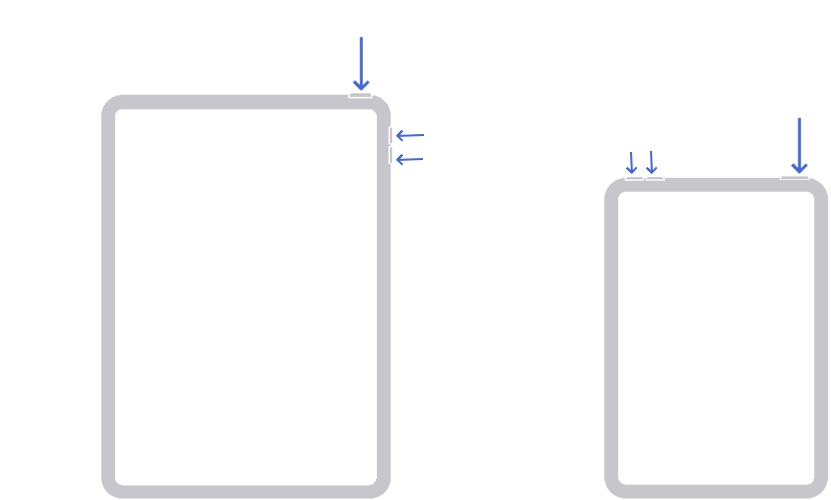
- iPad without Home button: Press and quickly release the Volume Up button, then press and quickly release the Volume Down button. Next, press and hold the Power button until you see the recovery mode screen.
- iPad with Home button: Press and hold the Power and Home buttons at the same time until you see the recovery mode screen.
Step 2. Open iTunes or Finder on the computer, and a window will pop up that asks you whether to restore or update the iPad.
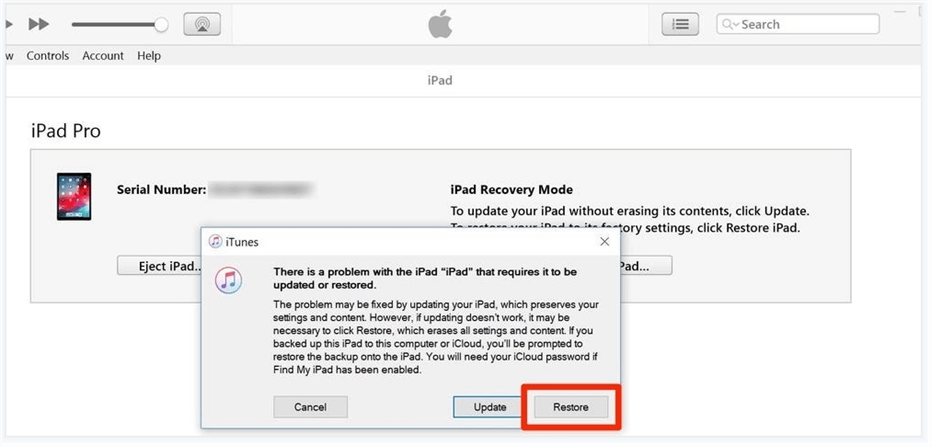
Step 3. Click Restore to restore the iPad to factory settings, afterwards you can unlock the unavailable iPad.
Method 5. Unlock iPad Unavailable Using Forgot Passcode?
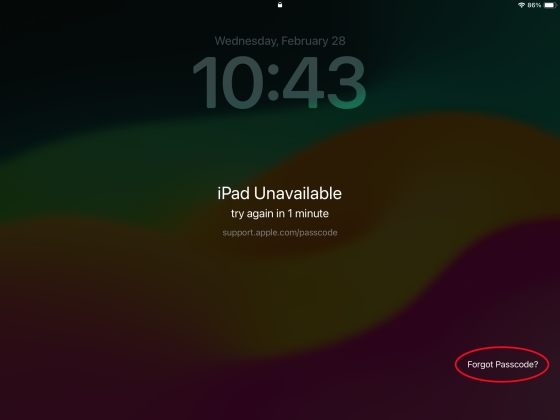
On iPadOS 17 and later versions, Apple provides a Forgot Passcode? option instead of the Erase iPad option that allows users to erase and reset the device directly from the lock screen. But this option only appears when having an internet connection and Find My is enabled on the device.
Step 1. Tap the Forgot Passcode? option on the iPad Unavailable screen.
Step 2. Tap Start iPad Reset and enter the required Apple ID password.
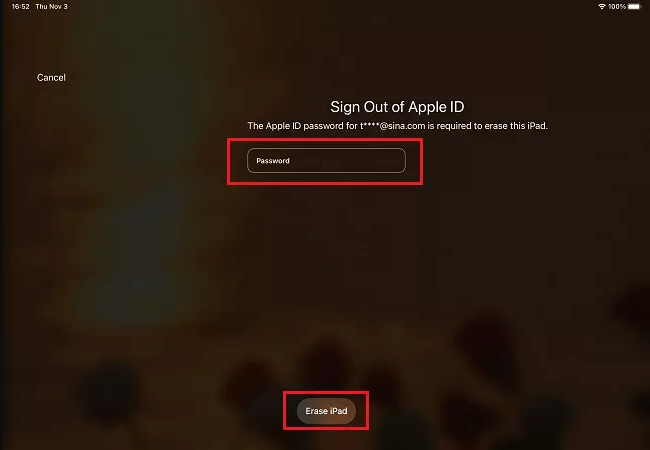
Step 3. Tap Erase iPad to confirm your operation.
Part 3. Video Tutorial to Fix iPad Unavailable No Erase Option
If you prefer a more visual guide, this video tutorial can help make the process easier to follow. Since each method comes with different requirements and steps, we've also included a quick comparison to help you identify the most suitable solution for your situation. This way, you can jump directly to the part of the video tutorial that matches the method you want to use.
| Method | Apple ID & Password | Computer Needed | Internet Needed | Find My Required | Success Rate |
|---|---|---|---|---|---|
| MagFone iPhone Unlocker | ✔️ | ❌ | ❌ | ❌ | High |
| iCloud Website | ❌ | ✔️ | ✔️ | ✔️ | Medium |
| Find My App | ❌ | ✔️ | ✔️ | ✔️ | Medium |
| iTunes | ✔️ | ❌ | ❌ | ❌ | Medium |
| Forgot Passcode? | ❌ | ✔️ | ✔️ | ✔️ | Medium |

Part 4. Conclusion
Now that you've learned the five possible methods to bypass the iPad Unavailable screen without the Erase iPad option, you can choose the one that best fits your situation. Whether you prefer using Apple's built-in tools like iCloud, Find My, iTunes, or Forgot Passcode?, or need a more flexible solution, each method offers a practical way to regain access to your device. If you're looking for an all-in-one option that works in different scenarios, MagFone iPhone Unlocker can be a reliable choice.

Teresa Miller
Editor in chief