
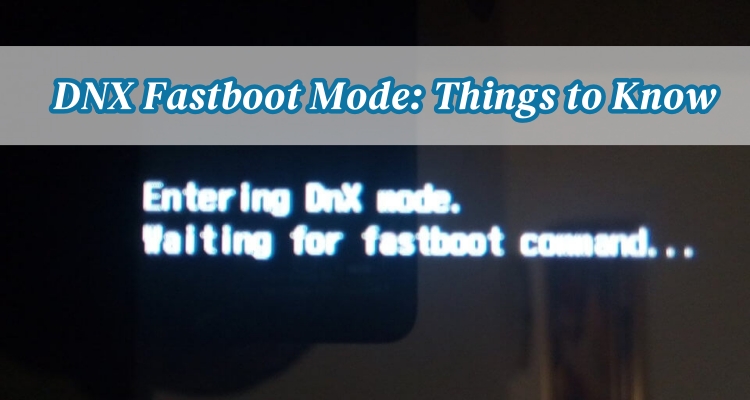
DNX Fastboot Mode is a specialized boot state found mainly on Intel-based Android devices that helps with firmware communication and system recovery. Many users encounter the message "entering DNX mode waiting for fastboot command" without fully understanding it. This guide explains what DNX Fastboot Mode is, why it appears, and how to use it safely. You will also learn how to enter, exit, and fix DNX Fastboot Mode on Android devices effectively.
- Part 1. What Is DNX Fastboot Mode Used For?
- Part 2. How to Get Into DNX Fastboot Mode
- Part 3. How to Get Out of DNX Fastboot Mode
- Part 4. How to Fix DNX Fastboot Mode Stuck
- Part 5. Extra Tip: How to Bypass Screen Lock on Android Phones
- Part 6. Conclusion
Part 1. What Is DNX Fastboot Mode Used For?
DNX Fastboot Mode is a low-level boot protocol used on specific Android devices to support firmware flashing and system recovery. It acts as a bridge between the device and a computer when the operating system cannot start normally, enabling deeper repair and maintenance operations for technicians.
What DNX Fastboot Mode Is Used For:
- Flashing or reinstalling firmware on Android devices.
- Repairing corrupted or missing system partitions.
- Recovering devices that cannot boot normally.
- Communicating with PC-based flashing tools.
- Performing low-level system maintenance tasks.
- Unbricking devices after software failure.
Part 2. How to Get Into DNX Fastboot Mode
Knowing how to enter DNX Fastboot Mode is useful when you need to repair or update firmware manually. Most devices enter this mode using hardware button combinations during startup. The process is simple; follow the steps below.
Step 1. Turn off your Android device completely.
Step 2. Press and hold the Power button and Volume Down button at the same time.
Step 3. Continue holding the buttons until the message "DNX FASTBOOT MODE… waiting for fastboot command" appears on the screen.
Step 4. Once the DNX screen is displayed, release the buttons.
Note:
DNX Mode is mostly found on Intel-powered Android devices. If this key combination does not work for your specific brand (such as Motorola or Google Pixel), you may need to use standard fastboot methods.
Part 3. How to Get Out of DNX Fastboot Mode
Exiting DNX Fastboot Mode is usually straightforward if the system is not severely damaged. In many situations, a simple restart is enough to restore normal device operation. To exit DNX Fastboot Mode on your device, follow these steps.
Step 1. Press and hold the Power button for about 20 to 30 seconds.
Step 2. Release the button once the screen has completely turned off.
Step 3. Release the button and allow the device to reboot.
Step 4. If it restarts normally, the issue is resolved.
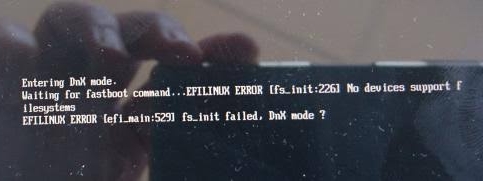
Part 4. How to Fix DNX Fastboot Mode Stuck
Sometimes devices get stuck in DNX Fastboot Mode and see the "entering DNX Mode waiting for fastboot command" message. In such cases, users need structured troubleshooting methods involving hardware checks, software tools, or firmware restoration to recover the device successfully.
Method 1. Force Restart the Device
A force restart is useful because it helps break the frozen boot cycle that keeps the device stuck in DNX Fastboot Mode. When temporary system glitches or minor firmware errors occur, restarting clears unstable processes and forces the hardware to reboot.
Step 1. Hold the Power button for 20–30 seconds.
Step 2. Wait until the screen turns black.
Step 3. Release the button and power the device back on.
Method 2. Check USB Drivers and Connections
Many DNX Fastboot Mode issues happen when the computer cannot properly recognize the device. Faulty or missing USB drivers interrupt communication between the PC and device, preventing recovery commands from working. Fixing drivers and using stable connections ensures the system can properly detect and respond to flashing or repair instructions.
Step 1. Link the device to a PC through a reliable USB.
Step 2. Install or update Intel/ADB drivers if needed.
Step 3. Try different USB ports, avoiding unstable connections. Then reconnect and check if the device responds.
Method 3. Flash Firmware Using Official Tools
Firmware flashing directly replaces corrupted system files that cause the device to remain stuck in DNX Fastboot Mode. When system partitions are damaged or missing, normal boot methods fail. Reinstalling official firmware restores the operating system, repairs boot errors, and returns the device to a fully functional state.
Step 1. Download correct firmware for your device model.
Step 2. Install a compatible flashing tool on your computer.
Step 3. Connect the device in DNX mode.
Step 4. Start flashing and wait for completion.
Part 5. Extra Tip: How to Bypass Screen Lock on Android Phones
If you are locked out of your Android phone and cannot access settings, MagFone Android Unlocker can help you regain access quickly. Instead of repeatedly guessing passwords or patterns, you can bypass the screen lock safely using software assistance. This is especially helpful when dealing with forgotten credentials or disabled devices. Below is a simple guide on how to bypass screen lock using MagFone Android Unlocker on your computer.
MagFone Android Unlocker
Remove multiple kinds of screen locks on over 5000 Android devices and delete Google FRP lock without a password.
Step 1 Launch MagFone and Connect Android Phone
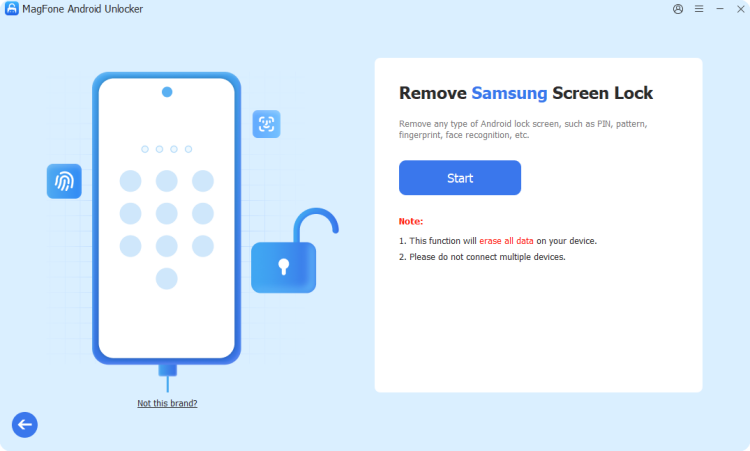
Get and run MagFone Android Unlocker on a computer, then plug your Android device into that PC. From the main interface, select Remove Screen Lock. Then select your device brand and click Start.
Step 2 Put Locked Android Phone into Recovery Mode
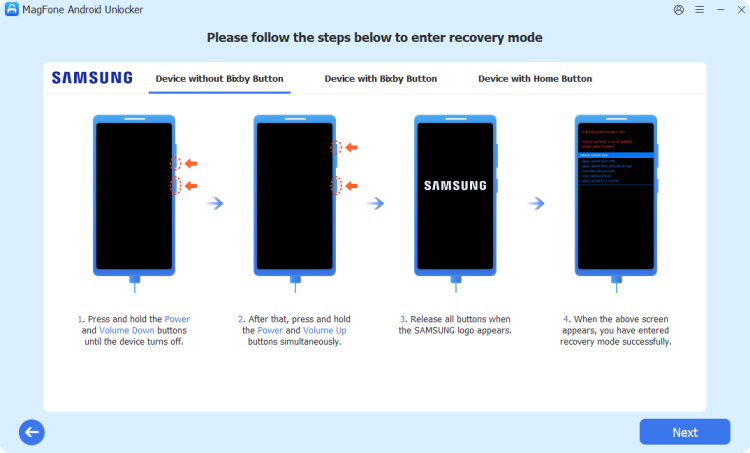
Once the device is detected, you'll see instructions to put the device into recovery mode. After entering recovery mode, click Next > Continue.
Step 3 Start to Remove Screen Lock on the Device
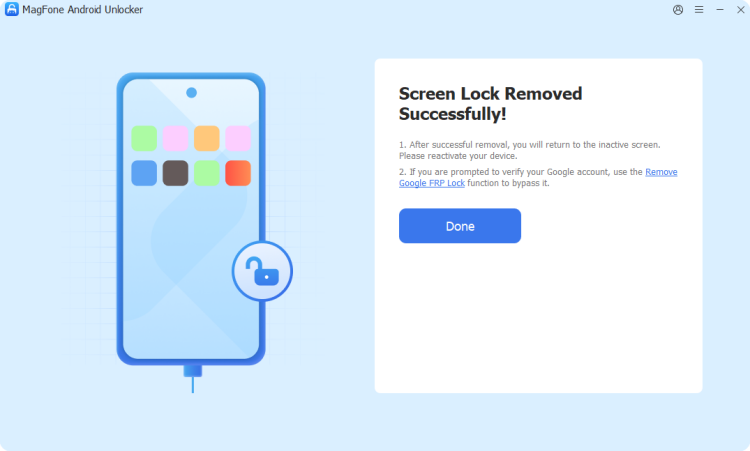
Follow the instructions on the screen to bypass the forgotten pattern lock. After completing the steps, click the Next button on the MagFone program.
Part 6. Conclusion
DNX Fastboot Mode is an essential recovery state used in Intel-based Android devices for firmware flashing and system repair. While it may appear confusing when a device gets stuck, understanding its purpose and methods to enter or exit it makes troubleshooting easier. With the right steps, users can fix most DNX-related issues and restore normal device functionality safely and effectively.

Dylan Jones
Editor in chief