In an era where your digital footprint is defined by your physical location, mastering the art of Xcode location spoofing is a superpower for developers and privacy enthusiasts alike. Whether you are testing a geofenced app or simply curious about how your iPhone perceives the world, Xcode offers a native, sophisticated way to teleport virtually. This guide delves into the Xcode location spoof, providing you with the keys to global mobility from your desk.
- Part 1. Things to Know About Xcode Location Spoof
- Part 2. How to Spoof Location with Xcode
- Part 3. How to Spoof Location Without Using Xcode
- Part 4. Conclusion
Part 1. Things to Know About Xcode Location Spoof
Before diving into the "how-to," it is vital to understand what happens under the hood when you use Xcode to manipulate your GPS. Unlike a VPN, which only masks your IP address, Xcode interacts directly with the GPS Location. Here are the things you should know about Xcode location simulation.
Key Technical Insights:
- The GPX Standard: Xcode utilizes GPS Exchange Format (.gpx) files. These are XML-based files that contain specific waypoints.
- System-Wide Impact: When you trigger a location simulation through Xcode, the change isn't just within your app; it affects the entire operating system. Your Maps app, weather widgets, and even "Find My" will reflect the spoofed coordinates.
- Persistence: The spoofed location remains active as long as the debug session is running. Once you disconnect your iPhone or stop the process in Xcode, the device usually reverts to its true location after a few minutes or a reboot.
- Limitations: Xcode does not simulate altitude (elevation) or accelerometer data. This means certain high-security apps can detect the spoofing because the phone "moves" without the physical sensors detecting any motion or change in height.
Part 2. How to Spoof Location with Xcode
To test maps or other location-based features, you need to simulate real-world coordinates during development. Below, you'll learn how to set location in Xcode simulator and how to spoof location with Xcode on your mac.
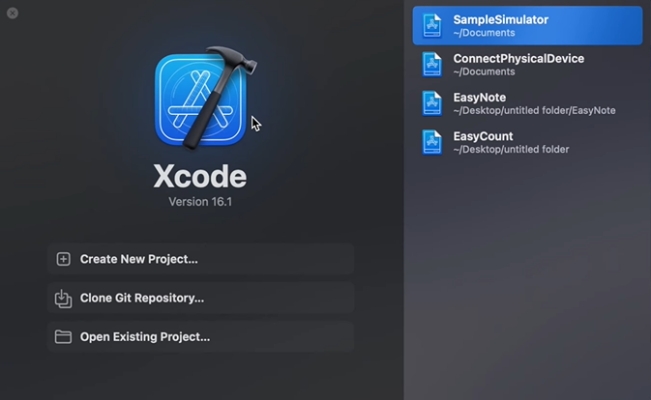
Step 1 Create New Project
Connect your iOS device and your Mac, Then Install Xcode on your Mac, and then launch it and select Create New Project in Xcode.
Step 2 Select Proper Similator
Select a target simulator (e.g., iPhone 15) from the top toolbar or create one by clicking your device name > Manage Run Destinations > Simulators, then create a simulator for yor device type by clicking the + icon at the bottom of the screen.

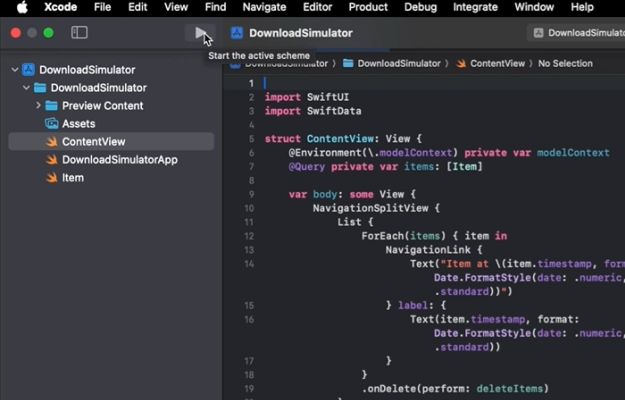
Step 3 Run the Project
Click the Play (Run) button in the top left corner. Xcode will build the project and automatically launch the Simulator window.
Step 4 Access the Location Menu
Click on the Simulator app window to bring it into focus. In the Mac's system menu bar at the very top of your screen, navigate to Features > Location.
Step 5 Choose a Simulation Mode
Select from the available presets like Apple or London, or choose Custom Location to manually input specific coordinates. You can also select City Bicycle Ride to simulate a moving path.
Step 6 Verify the Change
Open the Maps app within the simulator. The blue location dot should now appear at the coordinates you selected in the previous step.
Step 7 Create a GPX File
To spoof a physical device, go to File > New > File... in Xcode, search for GPX File, name it, and save it. This file contains the XML code where you can define custom waypoints for your device to follow.
Step 8 Deploy to Physical Device
Connect your iPhone to your Mac, select your Physical Device from the Xcode target list, and click Run. If prompted on your phone, authorize the connection by going to Settings > General > VPN & Device Management to trust your developer profile.
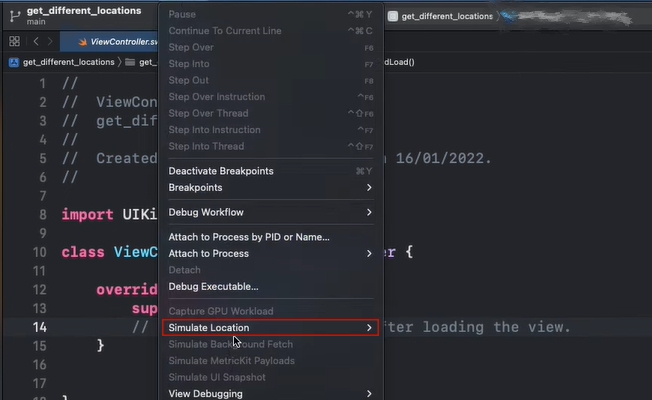
Step 9 Trigger the Spoof
While the app is actively running on your iPhone, look at the Debug Bar at the bottom of the Xcode window. Click the Location or Simulate Location option to select a desired location or your GPX file from the list to force the phone's GPS to those coordinates.
- Easy built-in location simulation
- No extra tools required
- Supports custom GPX routes
- Enables movement path testing
- Limited preset location options
- Only works on macOS
- Complex setup process
Part 3. How to Spoof Location Without Using Xcode
While Xcode is free, it is undeniably cumbersome for non-developers. It requires a Mac, a massive 10GB+ software installation, and constant tethering. This is where MagFone Location Changer becomes a superior alternative. It streamlines the process into a user-friendly interface that doesn't require coding or complex GPX editing. MagFone allows for joystick movement, multi-spot routing, and works seamlessly with different apps. Here's how to.
MagFone Location Changer
Easily change your GPS location on iOS and Android devices to anywhere with one click, while not requiring root or jailbreaking!
Step 1 Initialize the Device Connection
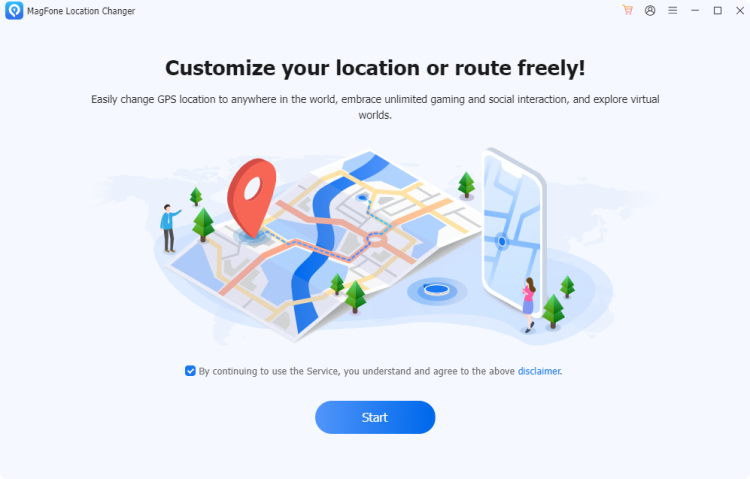
After installing MagFone Location Changer on your PC or Mac, launch the program. Use a reliable USB cable to link your iPhone to the computer. Select the Change Location mode from the dashboard and hit the Start button to begin the process.
Step 2 Execute the Location Change
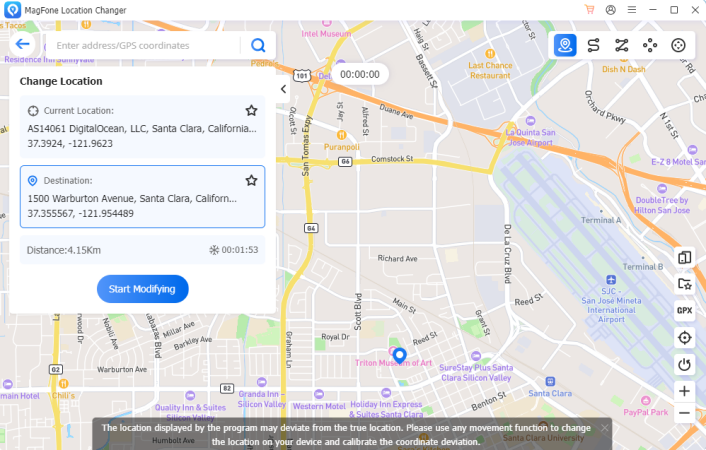
Browse the integrated map or type a specific destination into the search box. Once the desired point is pinned, click Start Modifying. Your iPhone's system GPS will instantly teleport to the new coordinates without requiring a VPN or technical debugging.
- Beginner-friendly interface
- Supports both Mac and Windows
- Offers multiple route simulation options
- No coding required
- Full features require payment
Part 4. Conclusion
Mastering Xcode location simulation is an essential skill for iOS development, providing a robust, free way to test global features. However, for users seeking a more flexible, "plug-and-play" experience without the steep learning curve of IDEs, MagFone Location Changer offers a powerful, user-friendly bridge. Both methods empower you to control your digital presence and explore the world virtually from the comfort of your home.

Edgar Davis
Editor in chief